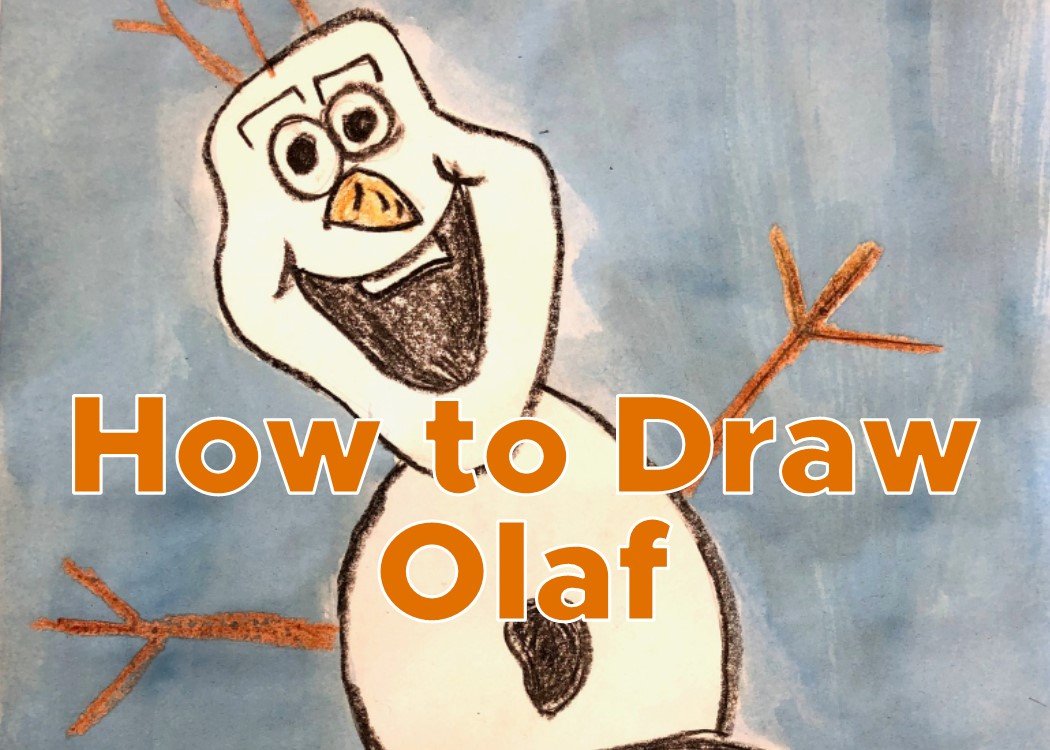
How to Draw Olaf
Is your little one beyond excited for the new Frozen 2 movie?!? So are we!!!! So excited that we needed to create our very own Olaf drawings and now we want to share how you can create an Olaf too! Follow along with our step by step directions to draw Olaf the Snowman.
ART KIDBIT: Wax Resist
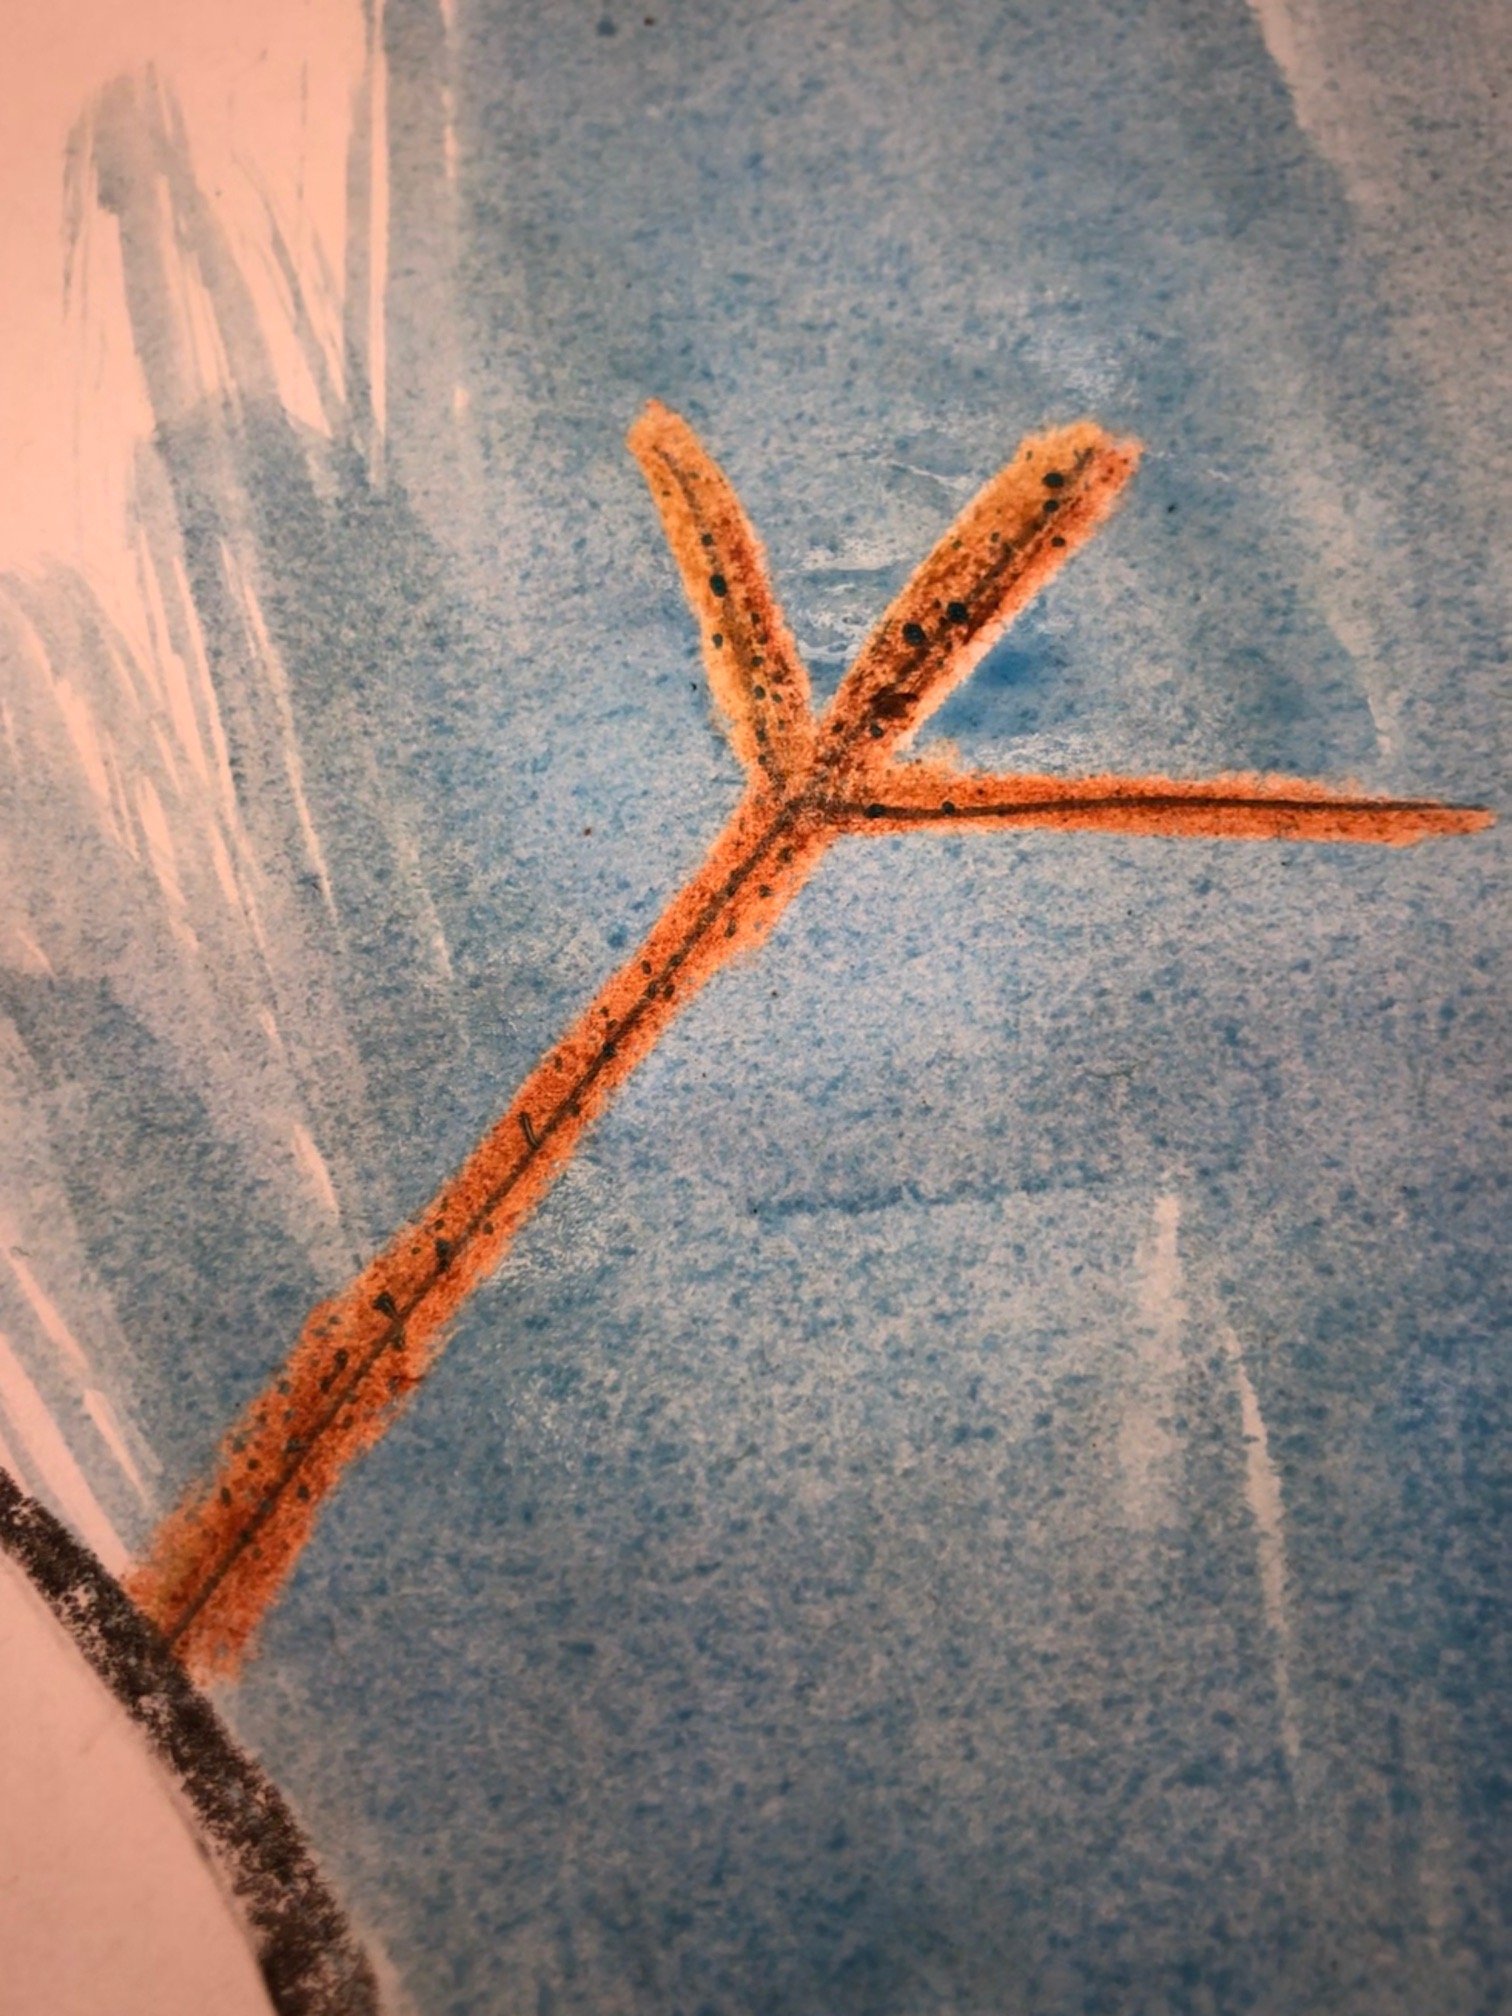
While you create your favorite pal, take care in drawing and notice something new that happens when the paint and crayon come together. This relationship between the paint and crayon is called wax resist and means exactly what it sounds like! When you use a wax or oil-based writing utensil, then wash over it with water-based paint, the wax will resist the paint and maintain its original color.
What You Need:
- Art paper
- Black, brown and orange crayon
- Pencil
- Blue water color paint
- Paint brushes
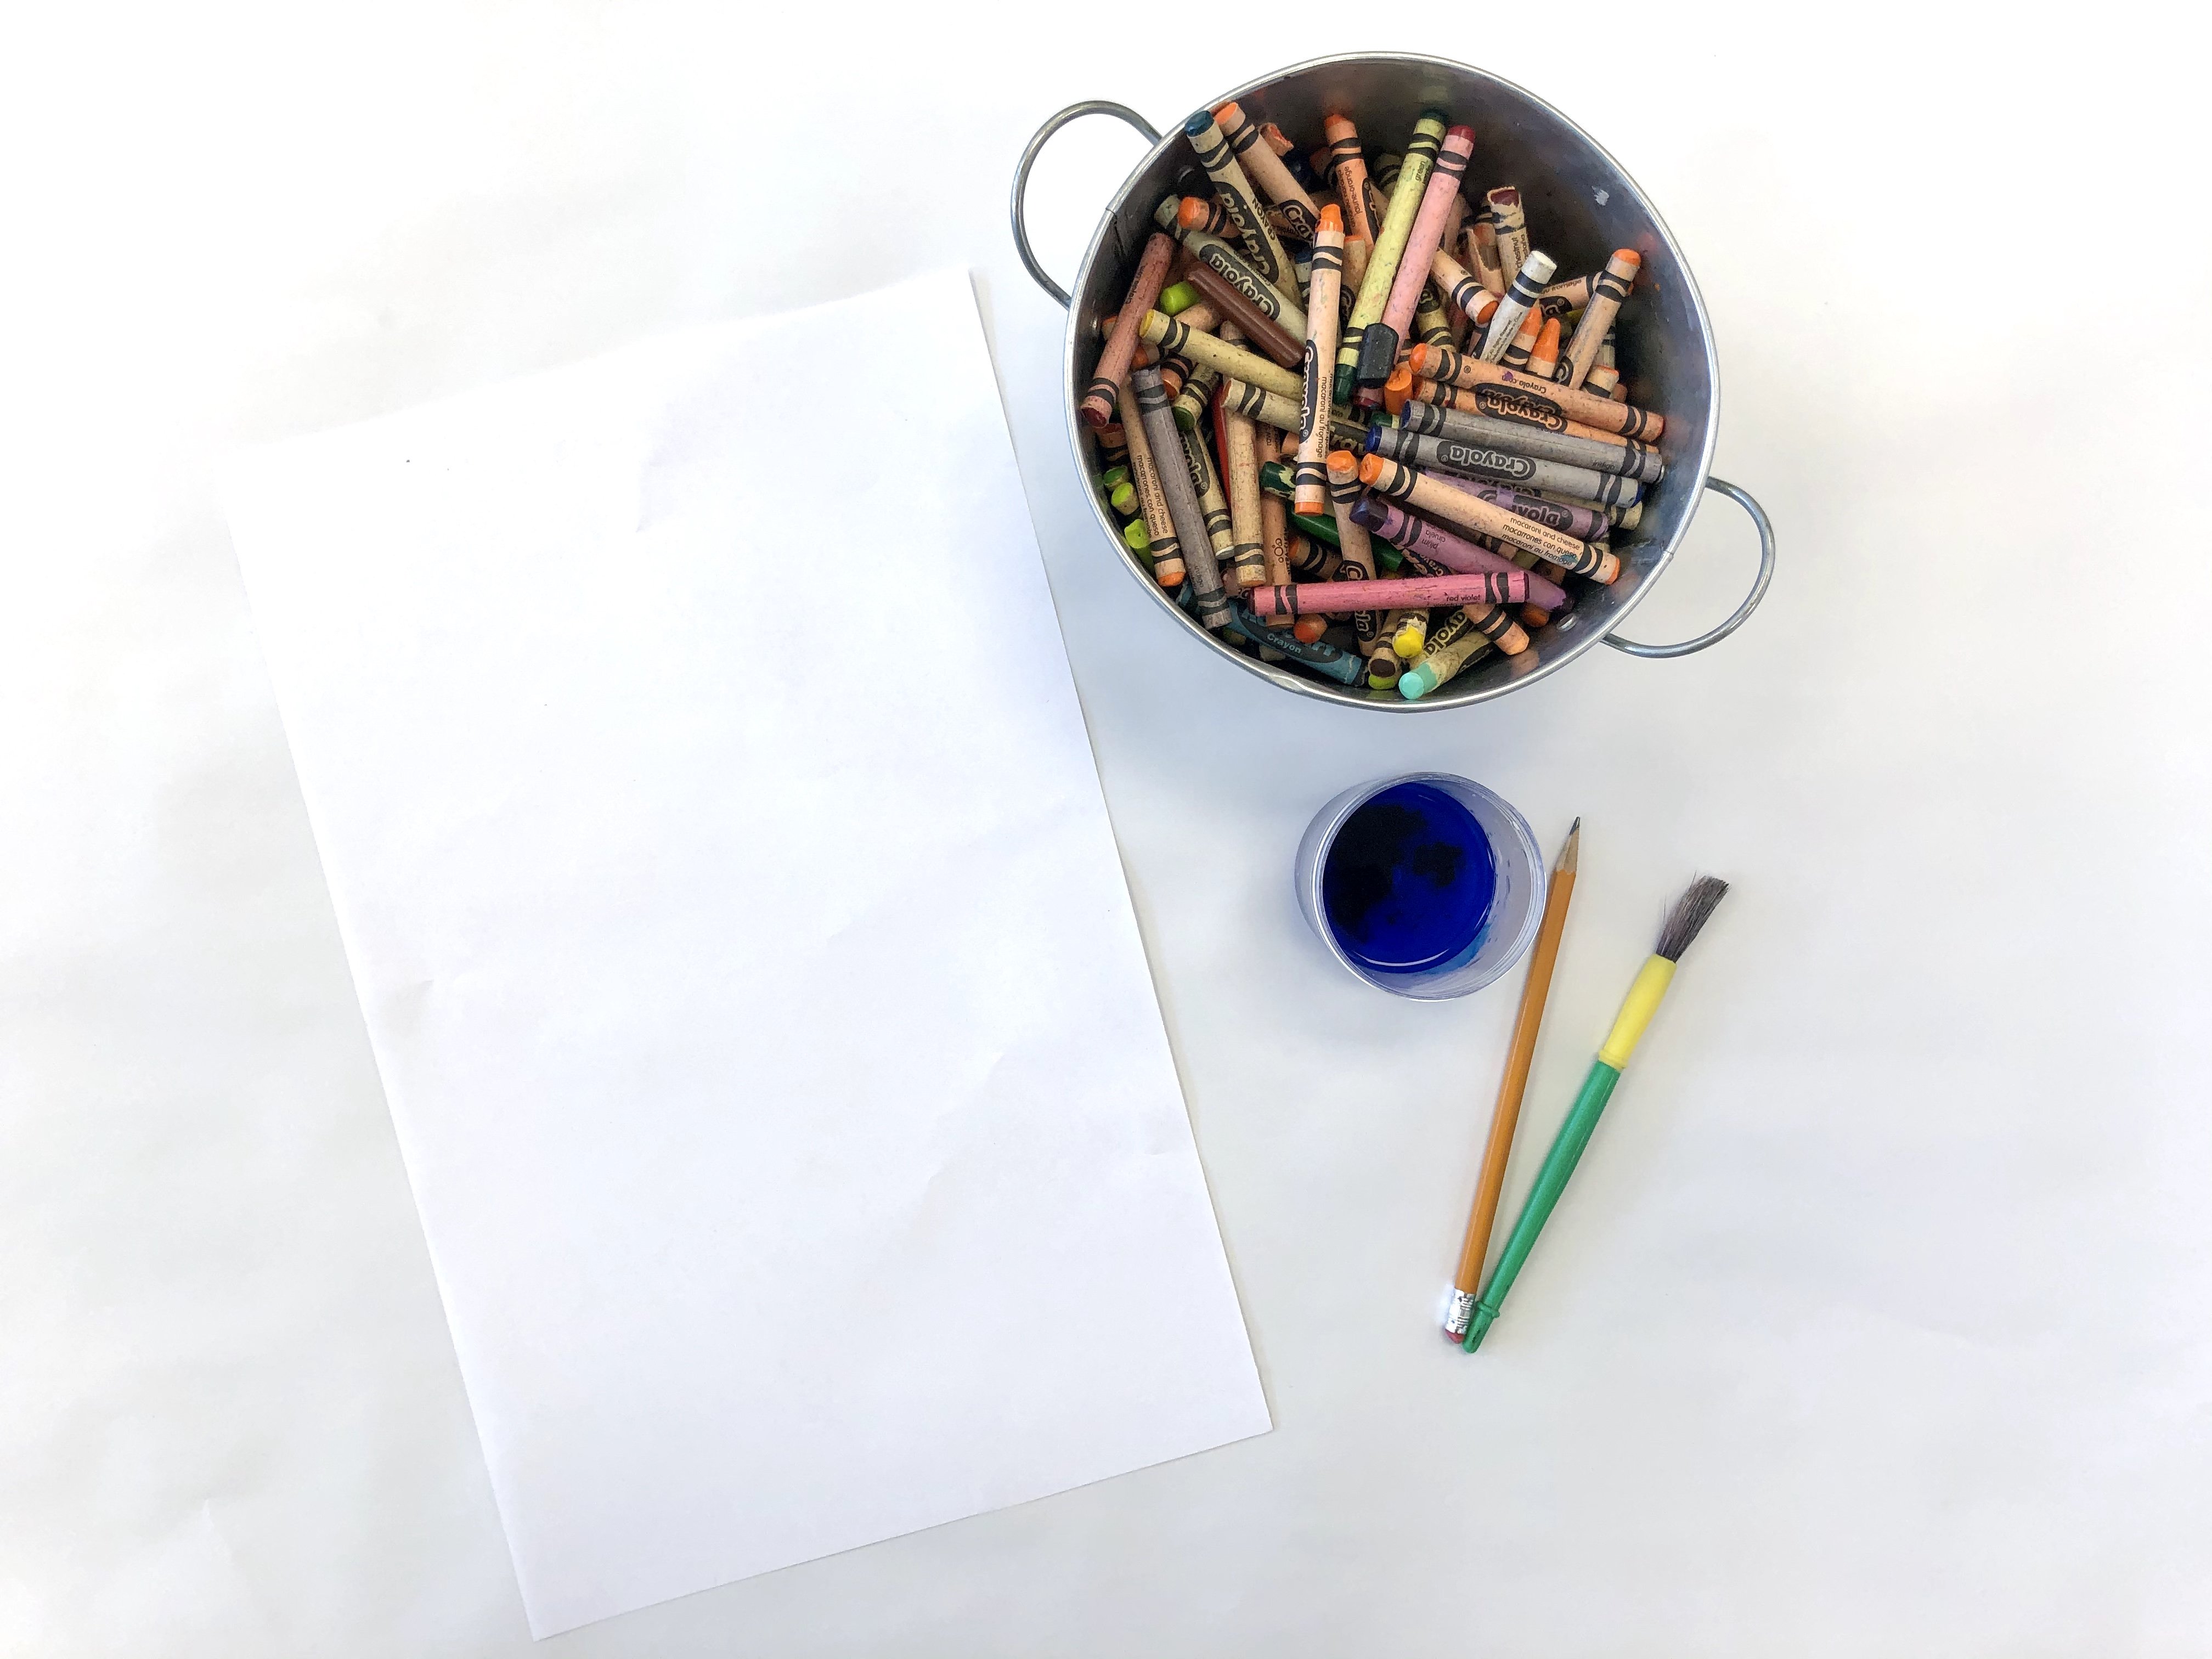
Directions:
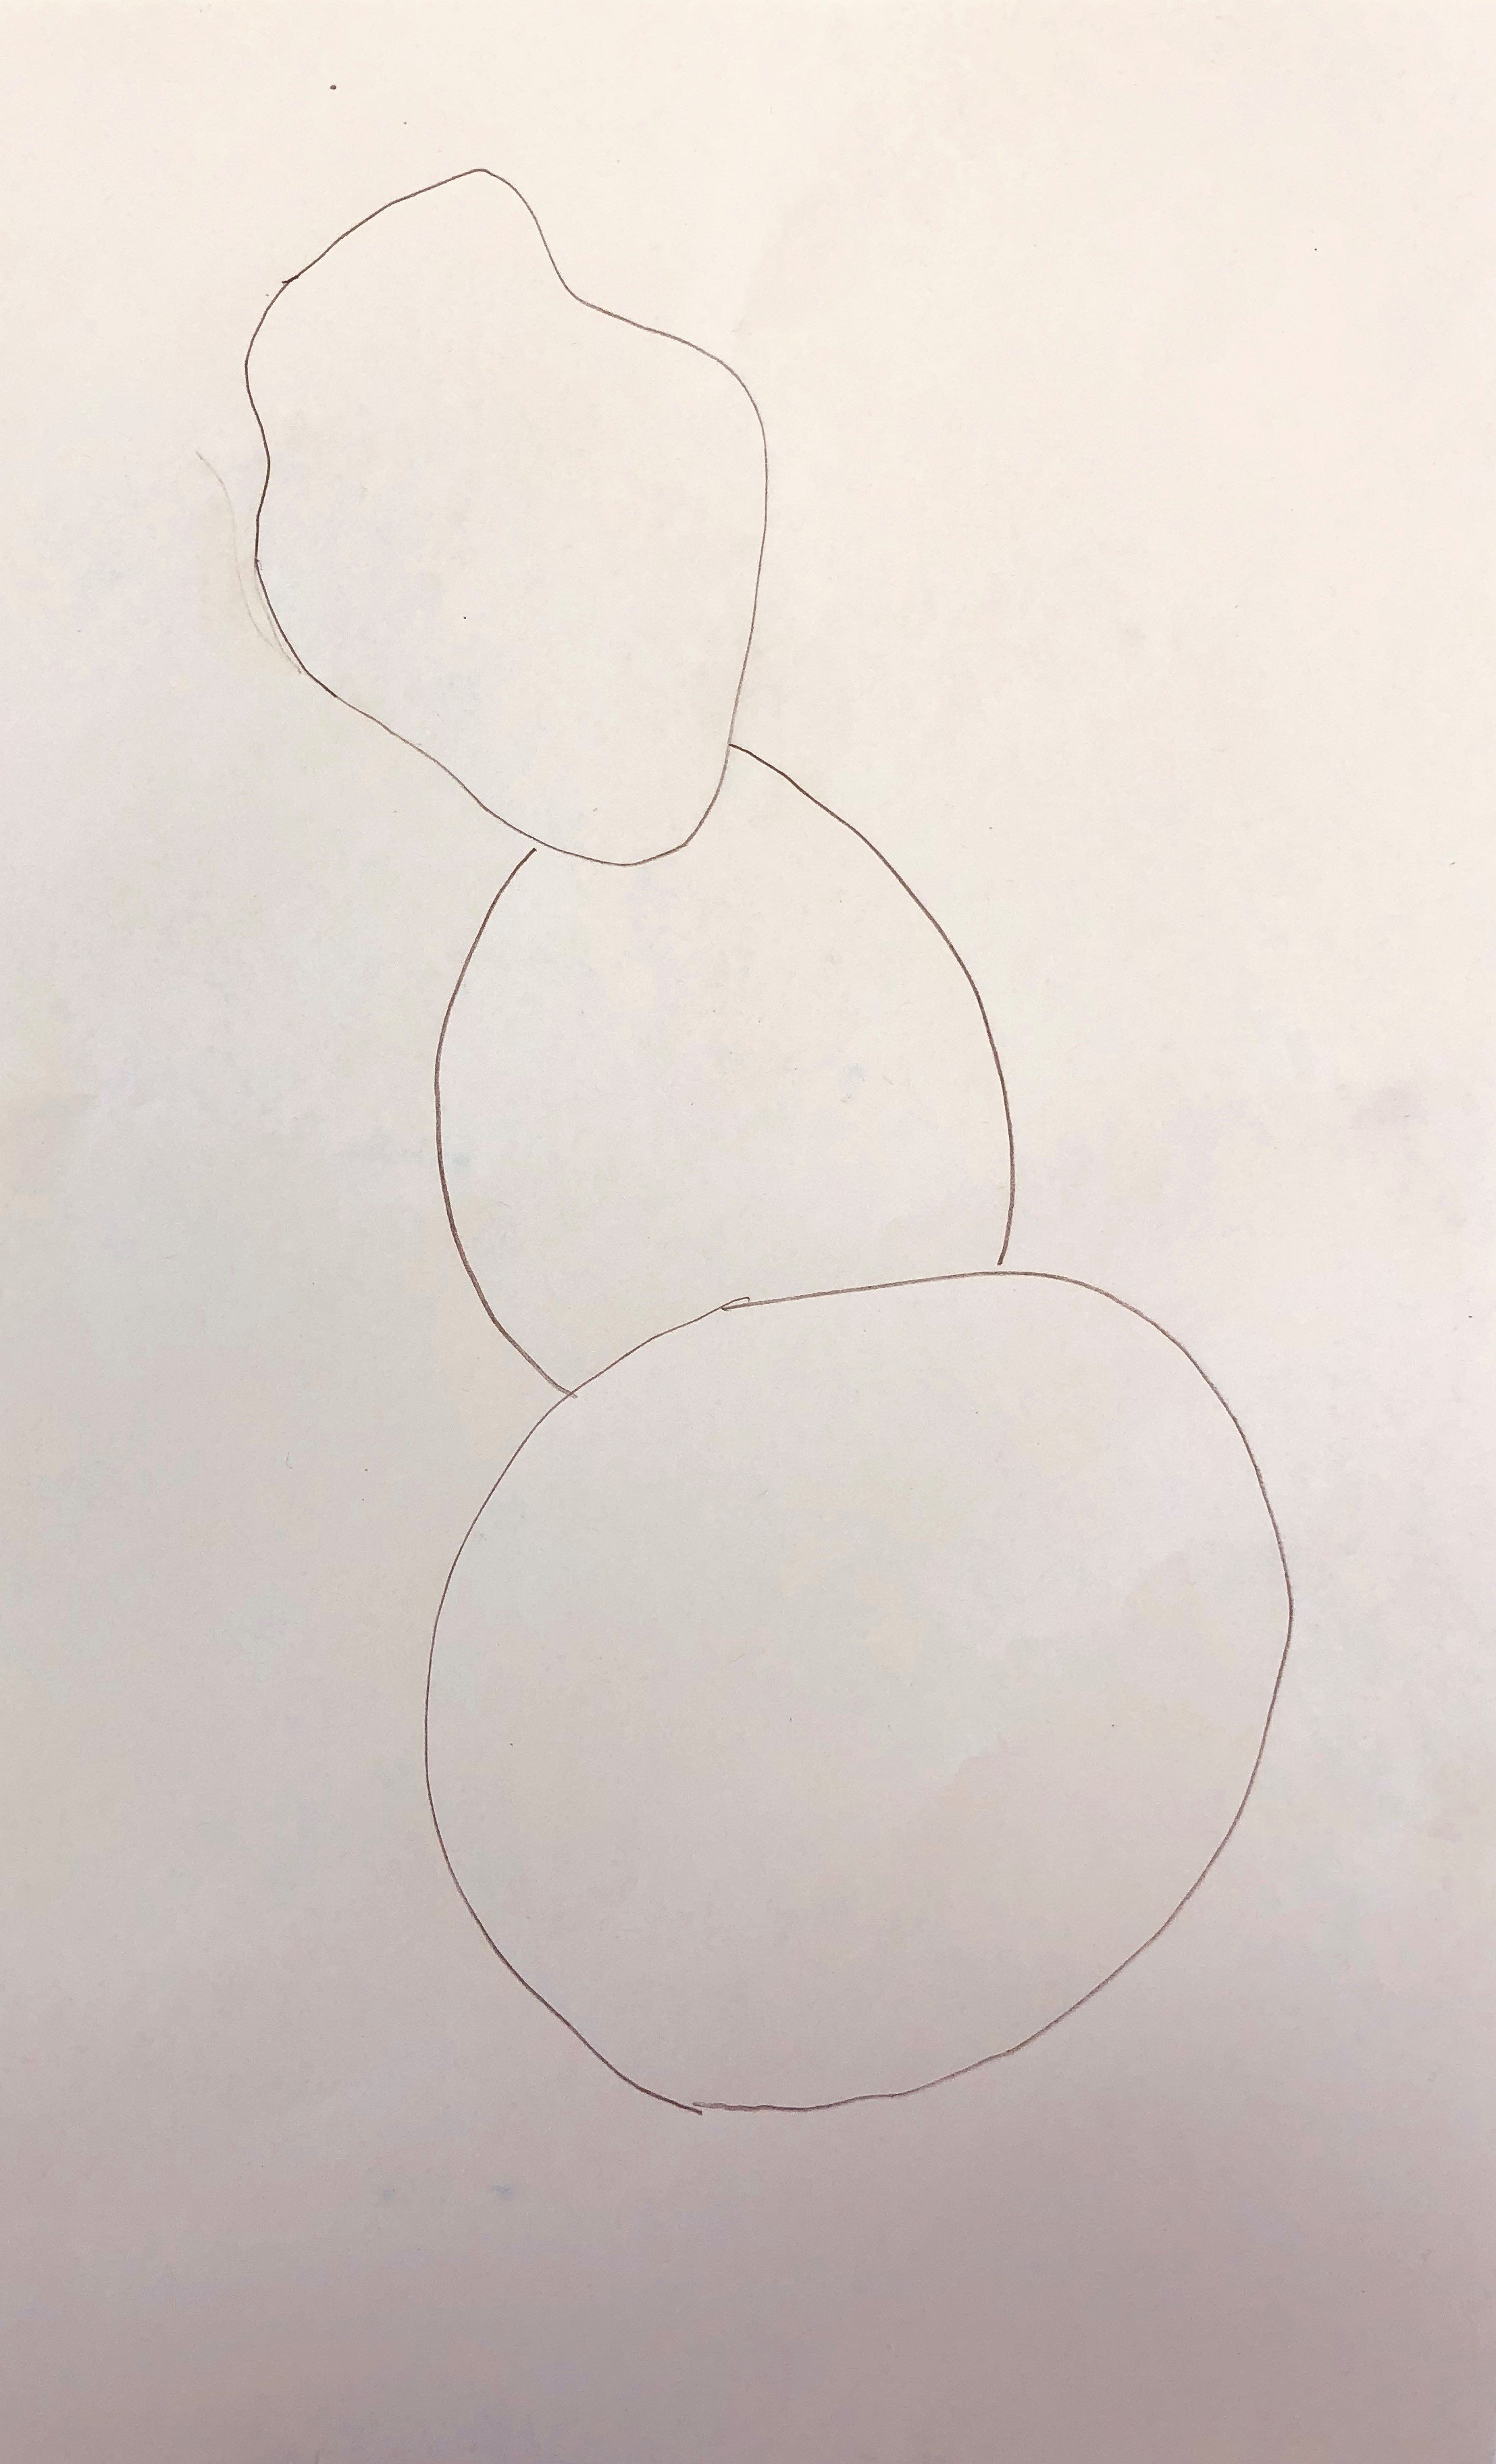
- Let's draw Olaf!!! We will go step by step to draw our Olaf creation. If your child wants, have them practice how to draw Olaf until they feel ready to make their final drawing. Make sure to draw Olaf lightly with your pencil. Later in the process, you will go over the lines with the black crayon.
- First, draw the body. Olaf is made of three snowballs with the top in the classic Olaf face shape.
- Next, add in more of his body's features. Use your imagination. You can add in twig arms, silly hair, coal buttons, and don't forget his feet!! He needs to be able to keep up with his Frozen friends!
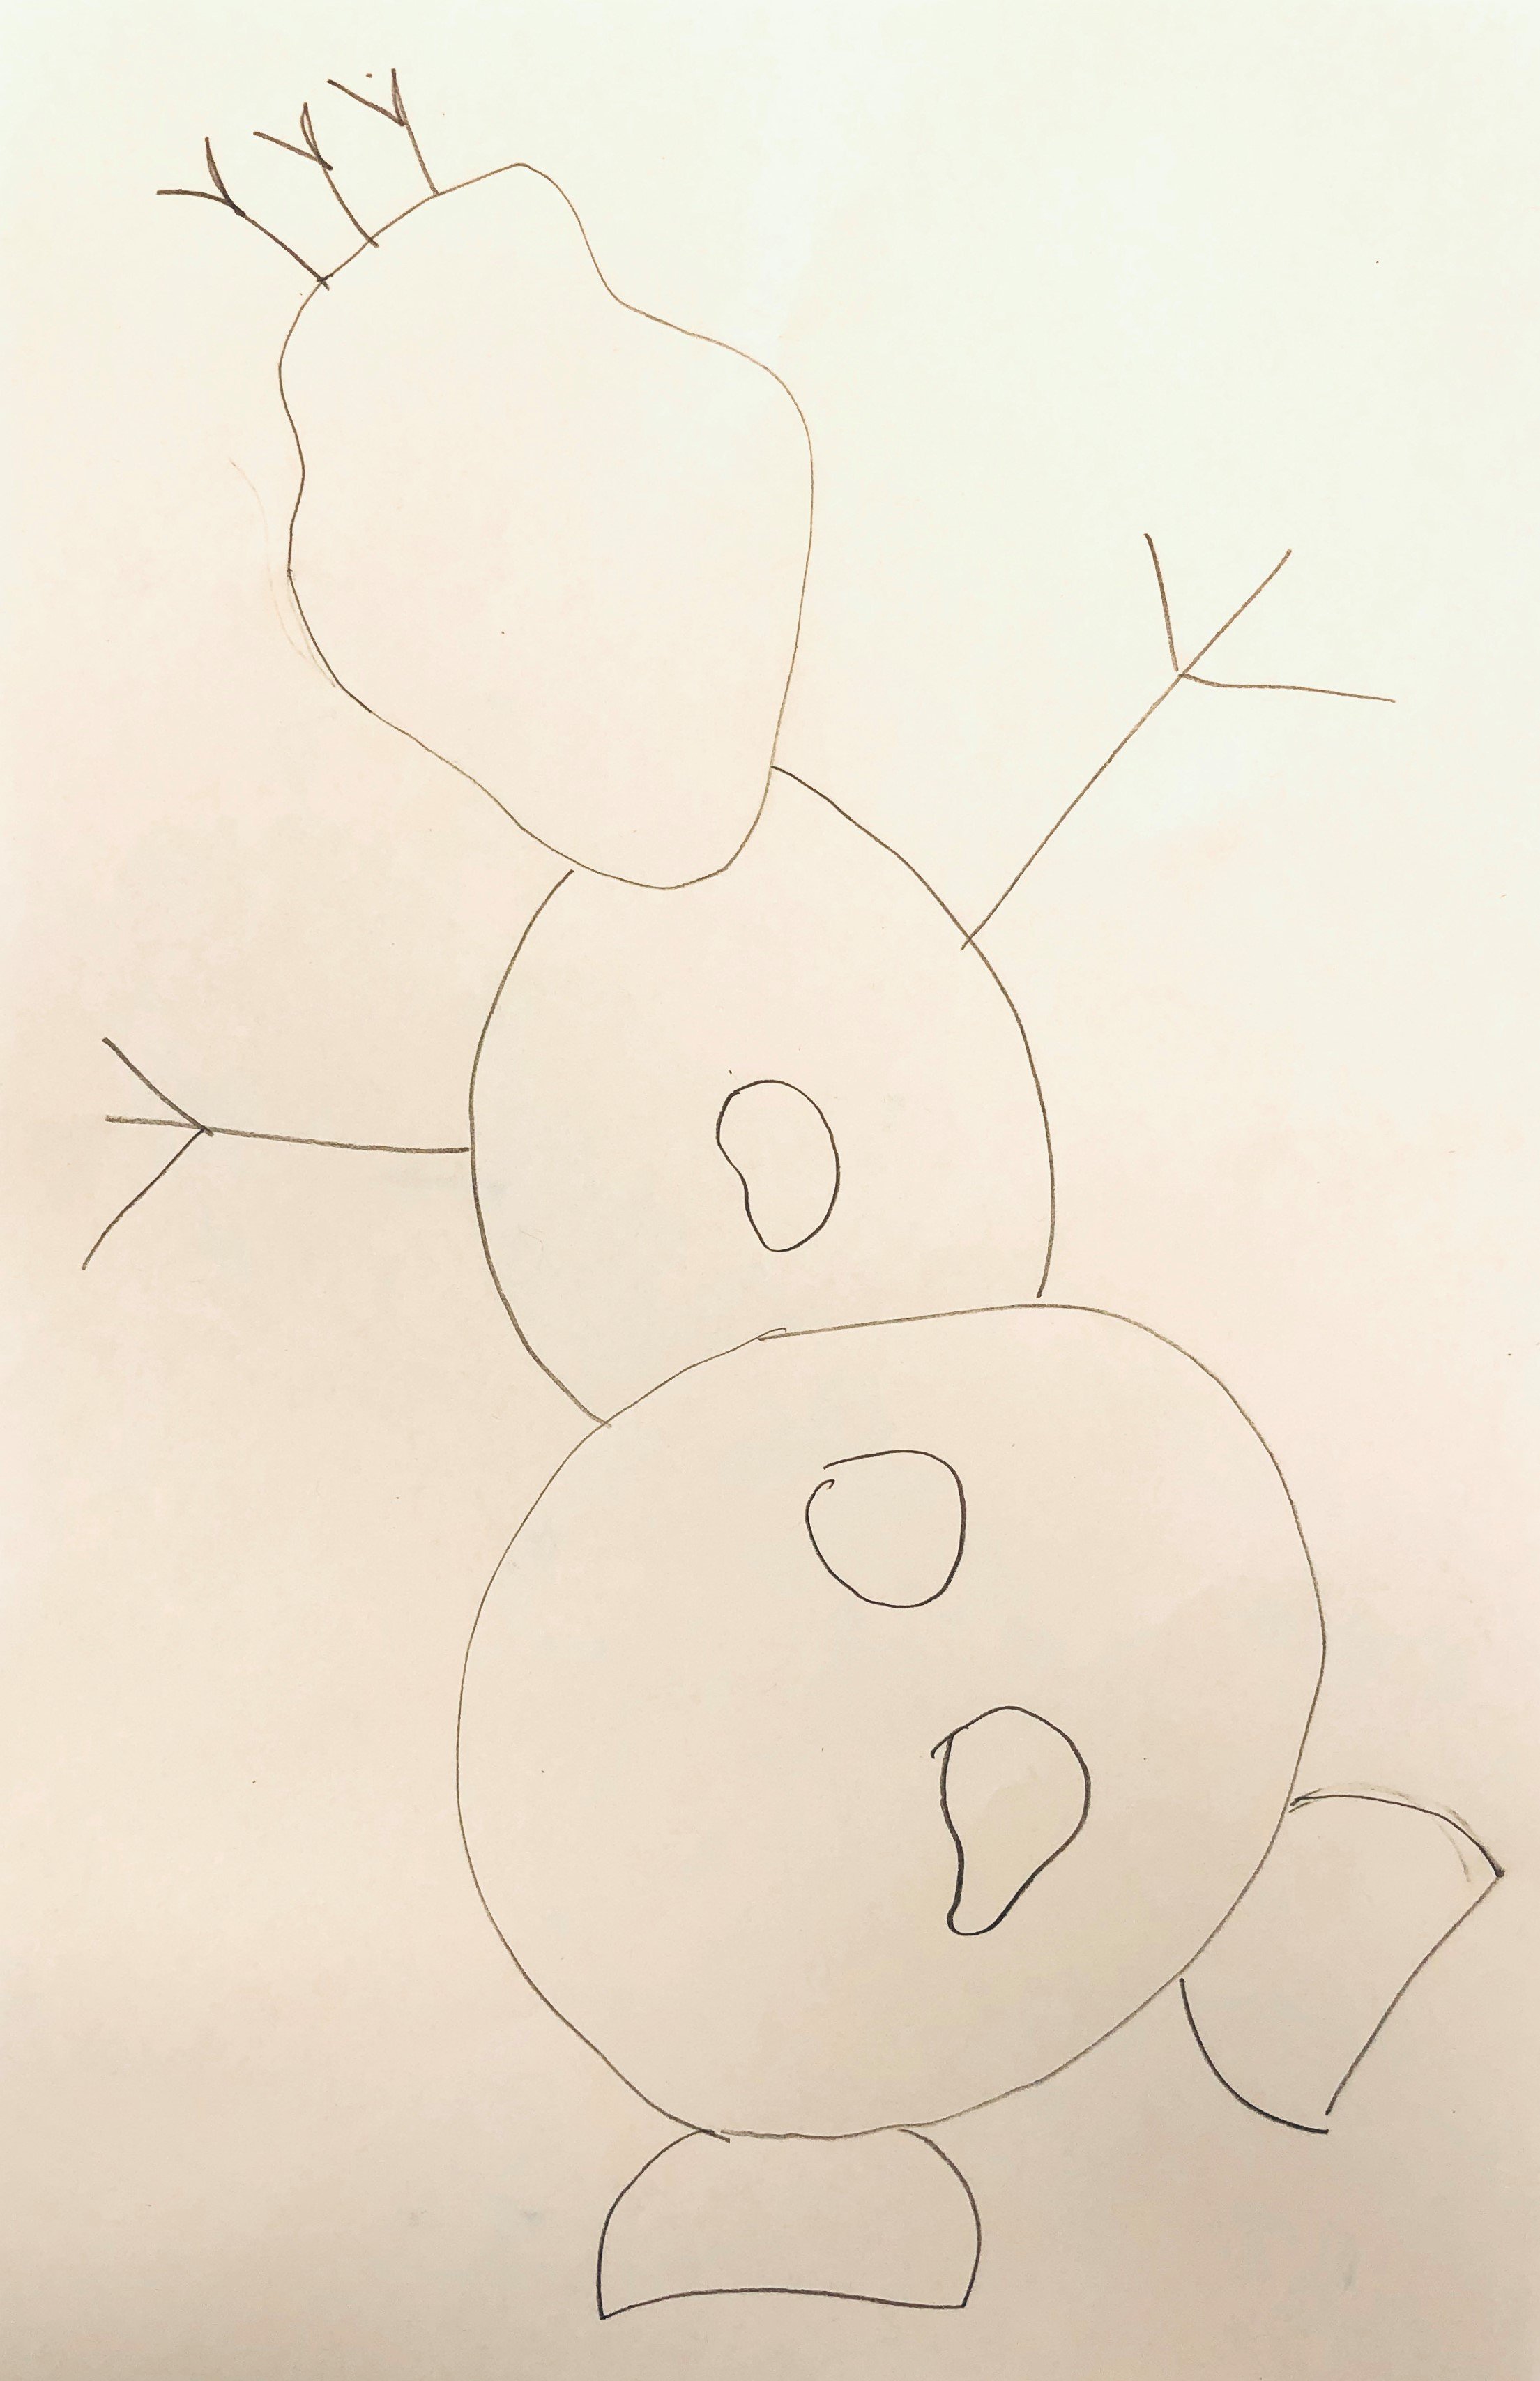
- Time to add Olaf's facial features. First, let's draw his eyes and smile.

- Once you've drawn those, time to give him some eyebrows and his carrot nose!
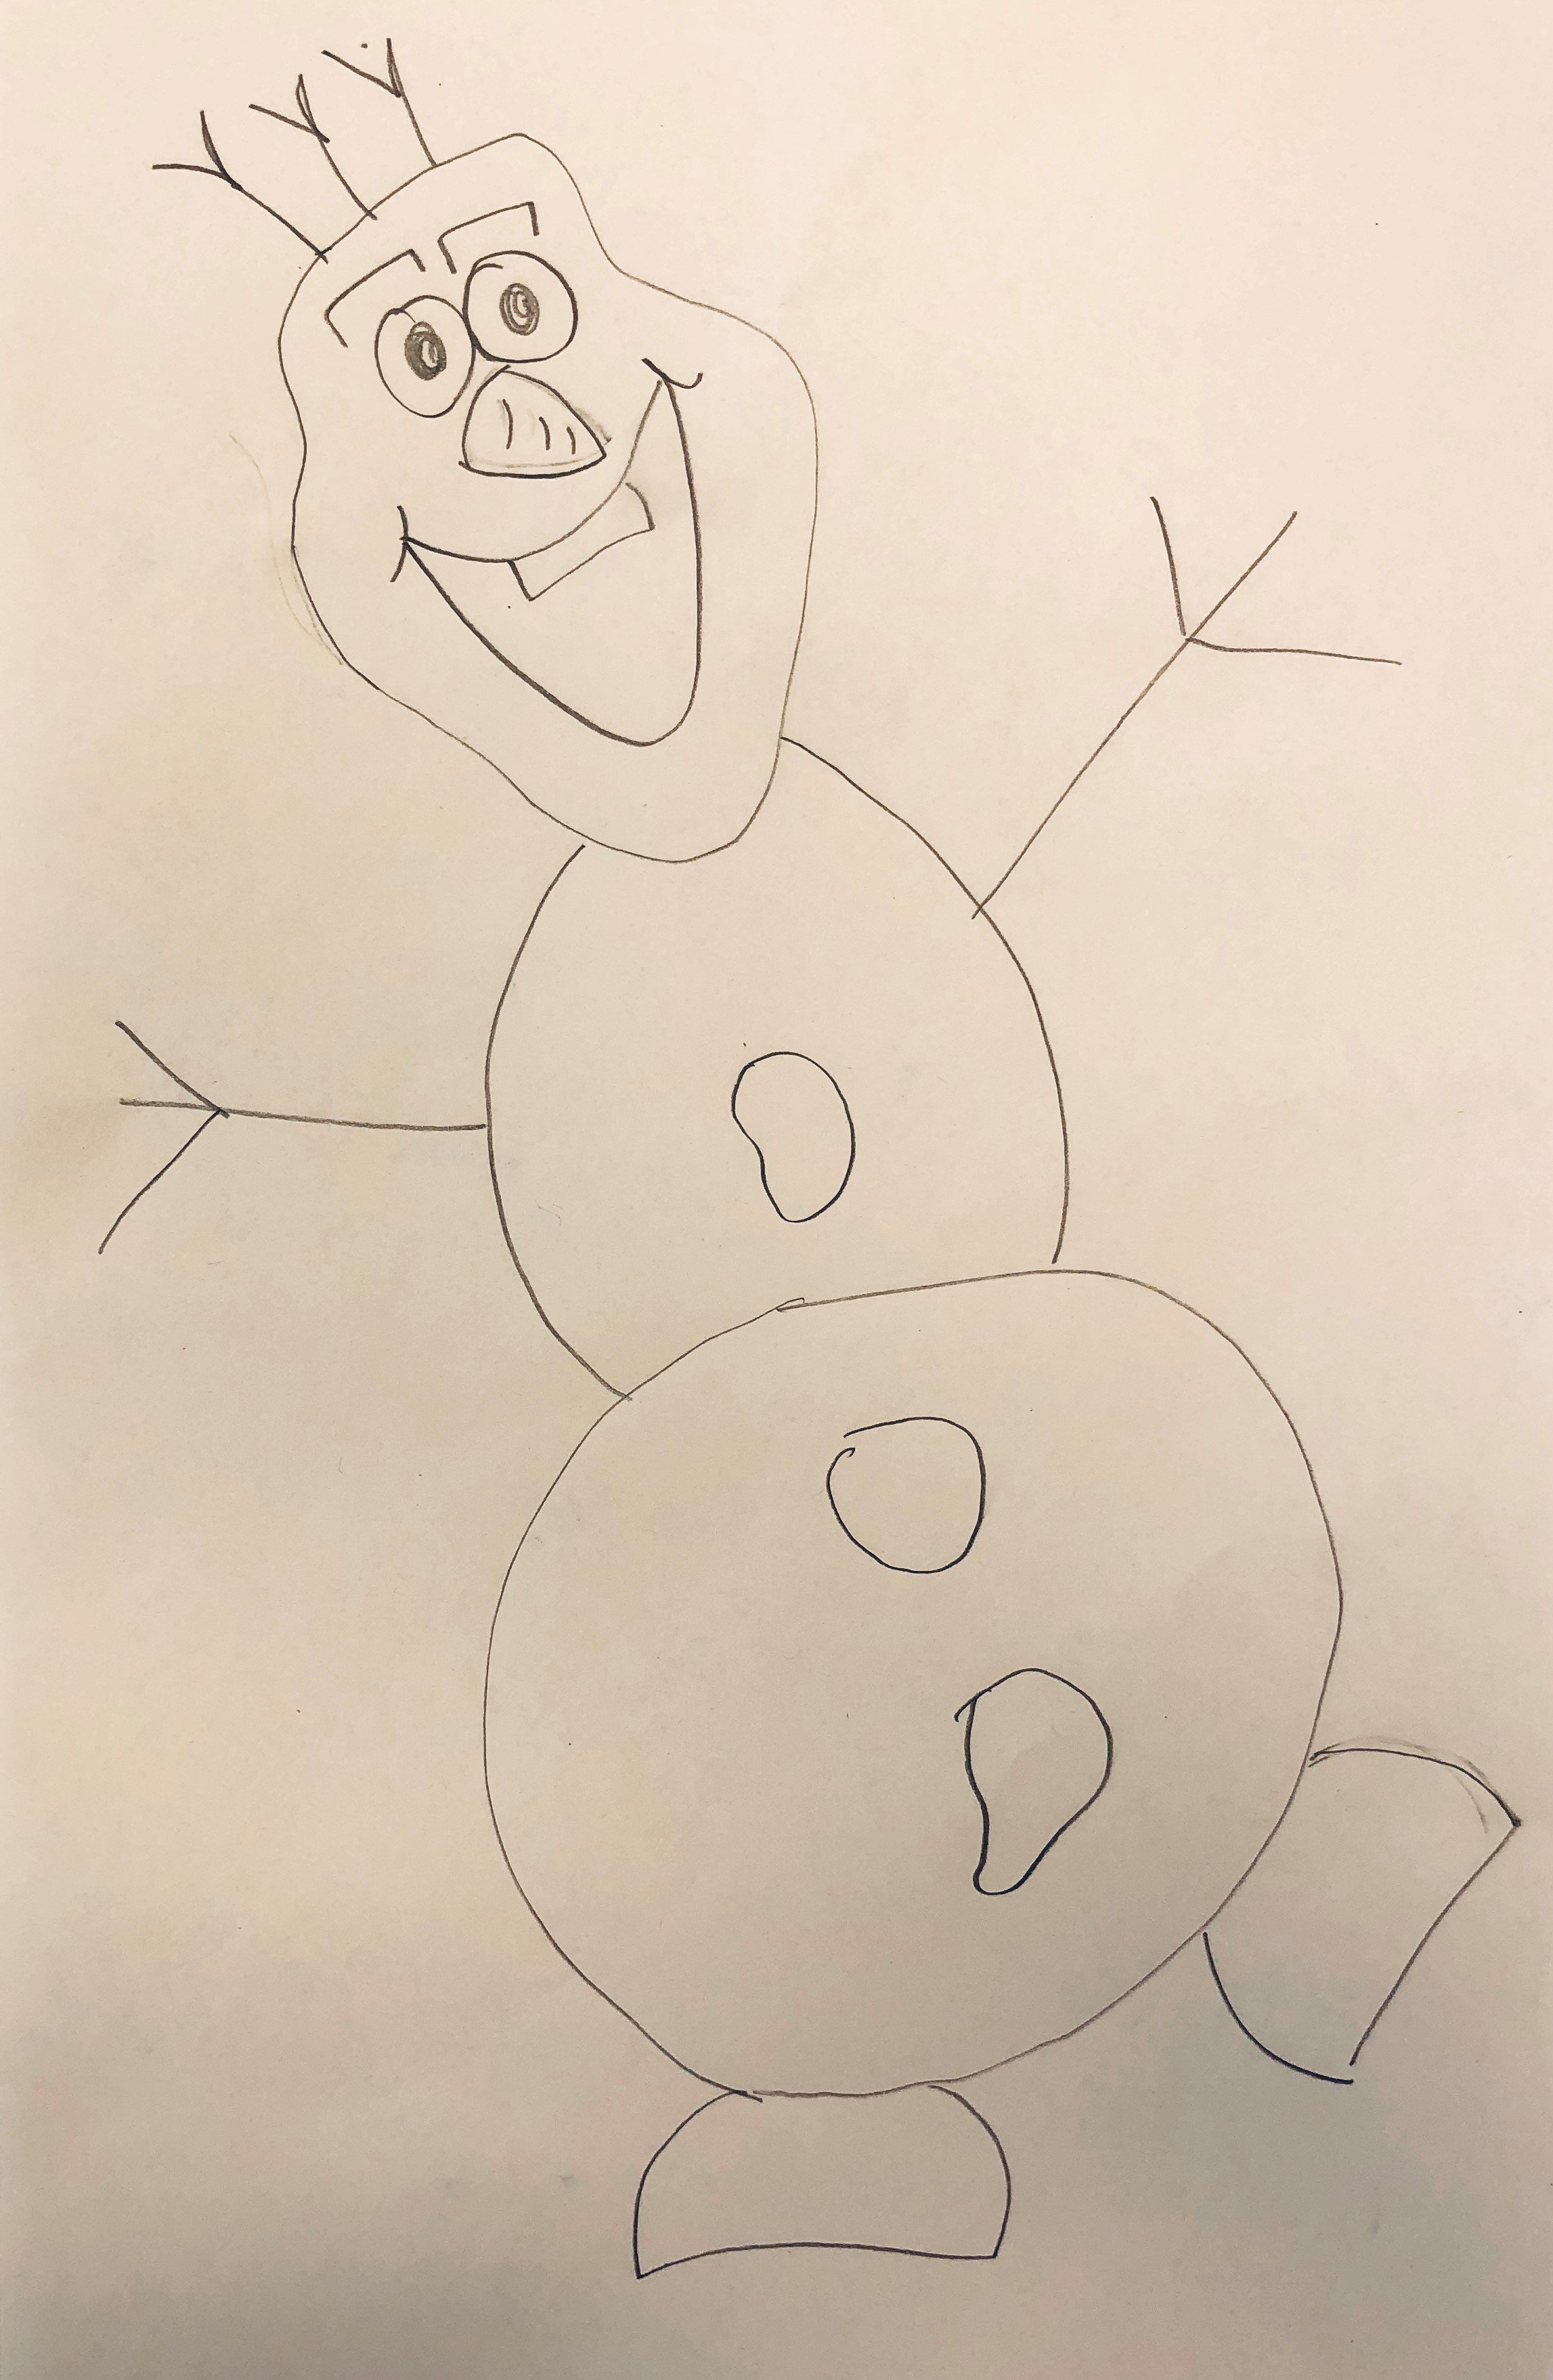
- Hooray! You've drawn you've drawn Olaf. Time to finish your masterpiece. Take the black crayon and fill in all the pencil lines for Olaf's body and face, everything except his arms and hair. You can also fill in Olaf's buttons and mouth with the black crayon.
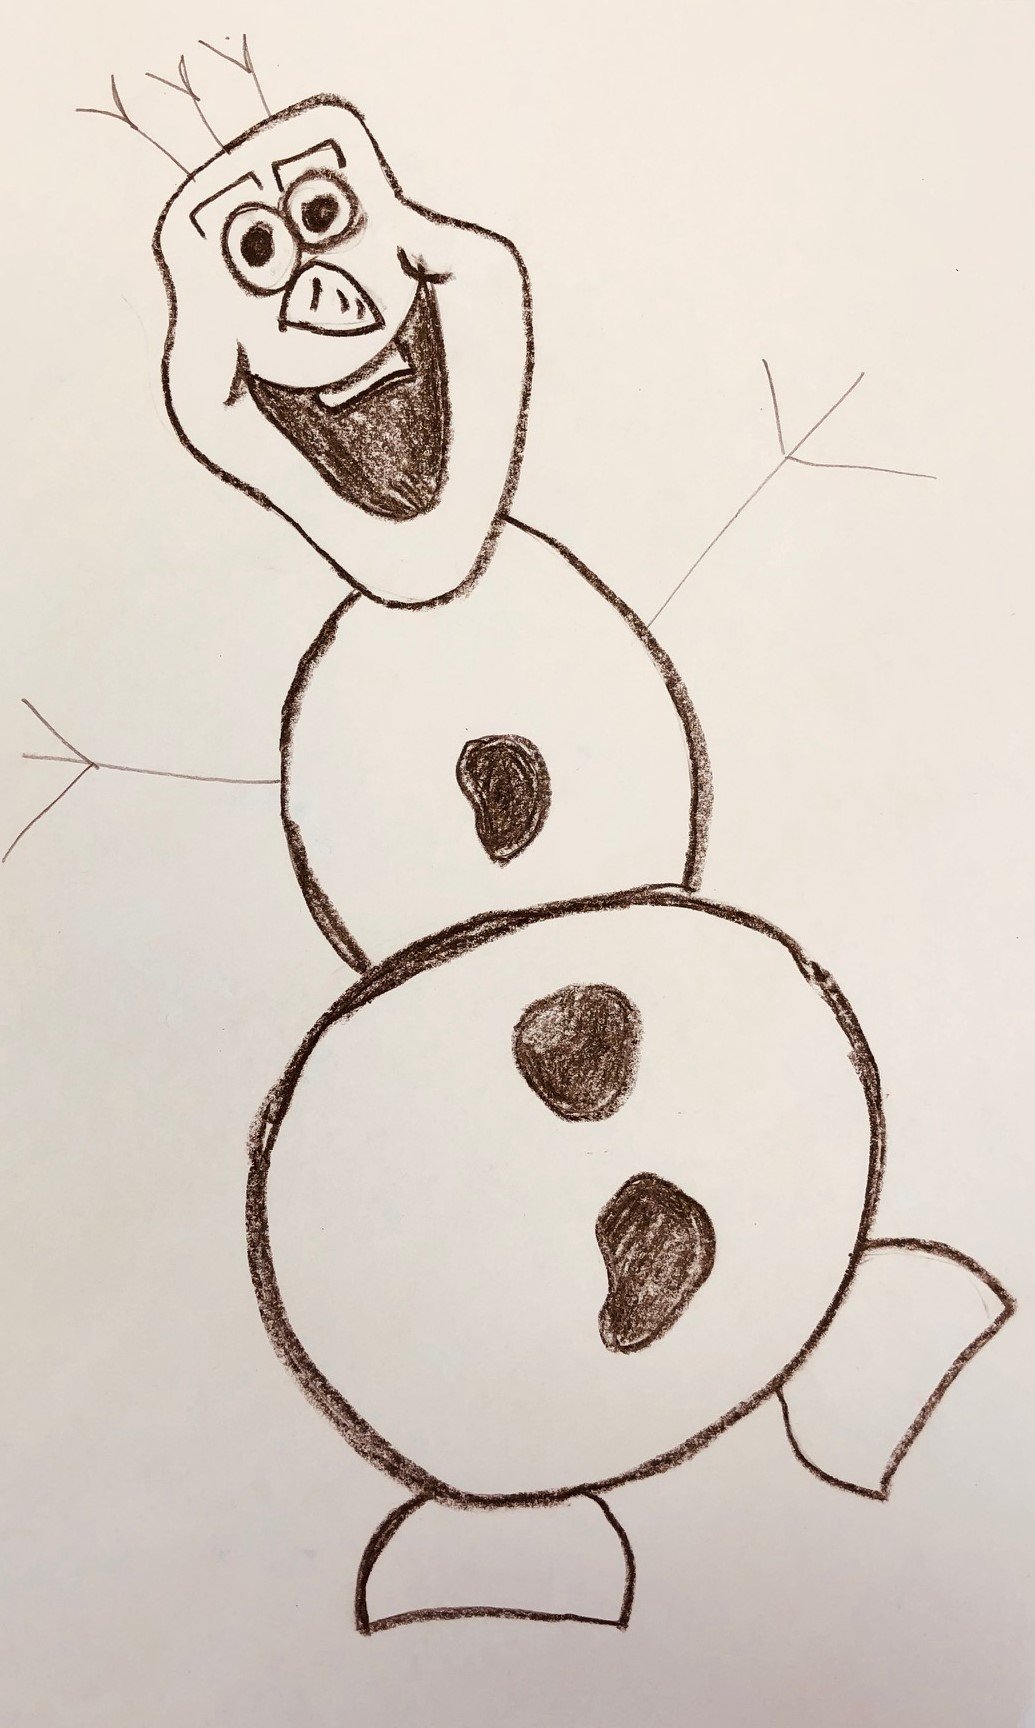
- Use a brown crayon to go over the pencil lines for his twig arms and hair. Then, use a orange crayon to color in Olaf's nose.

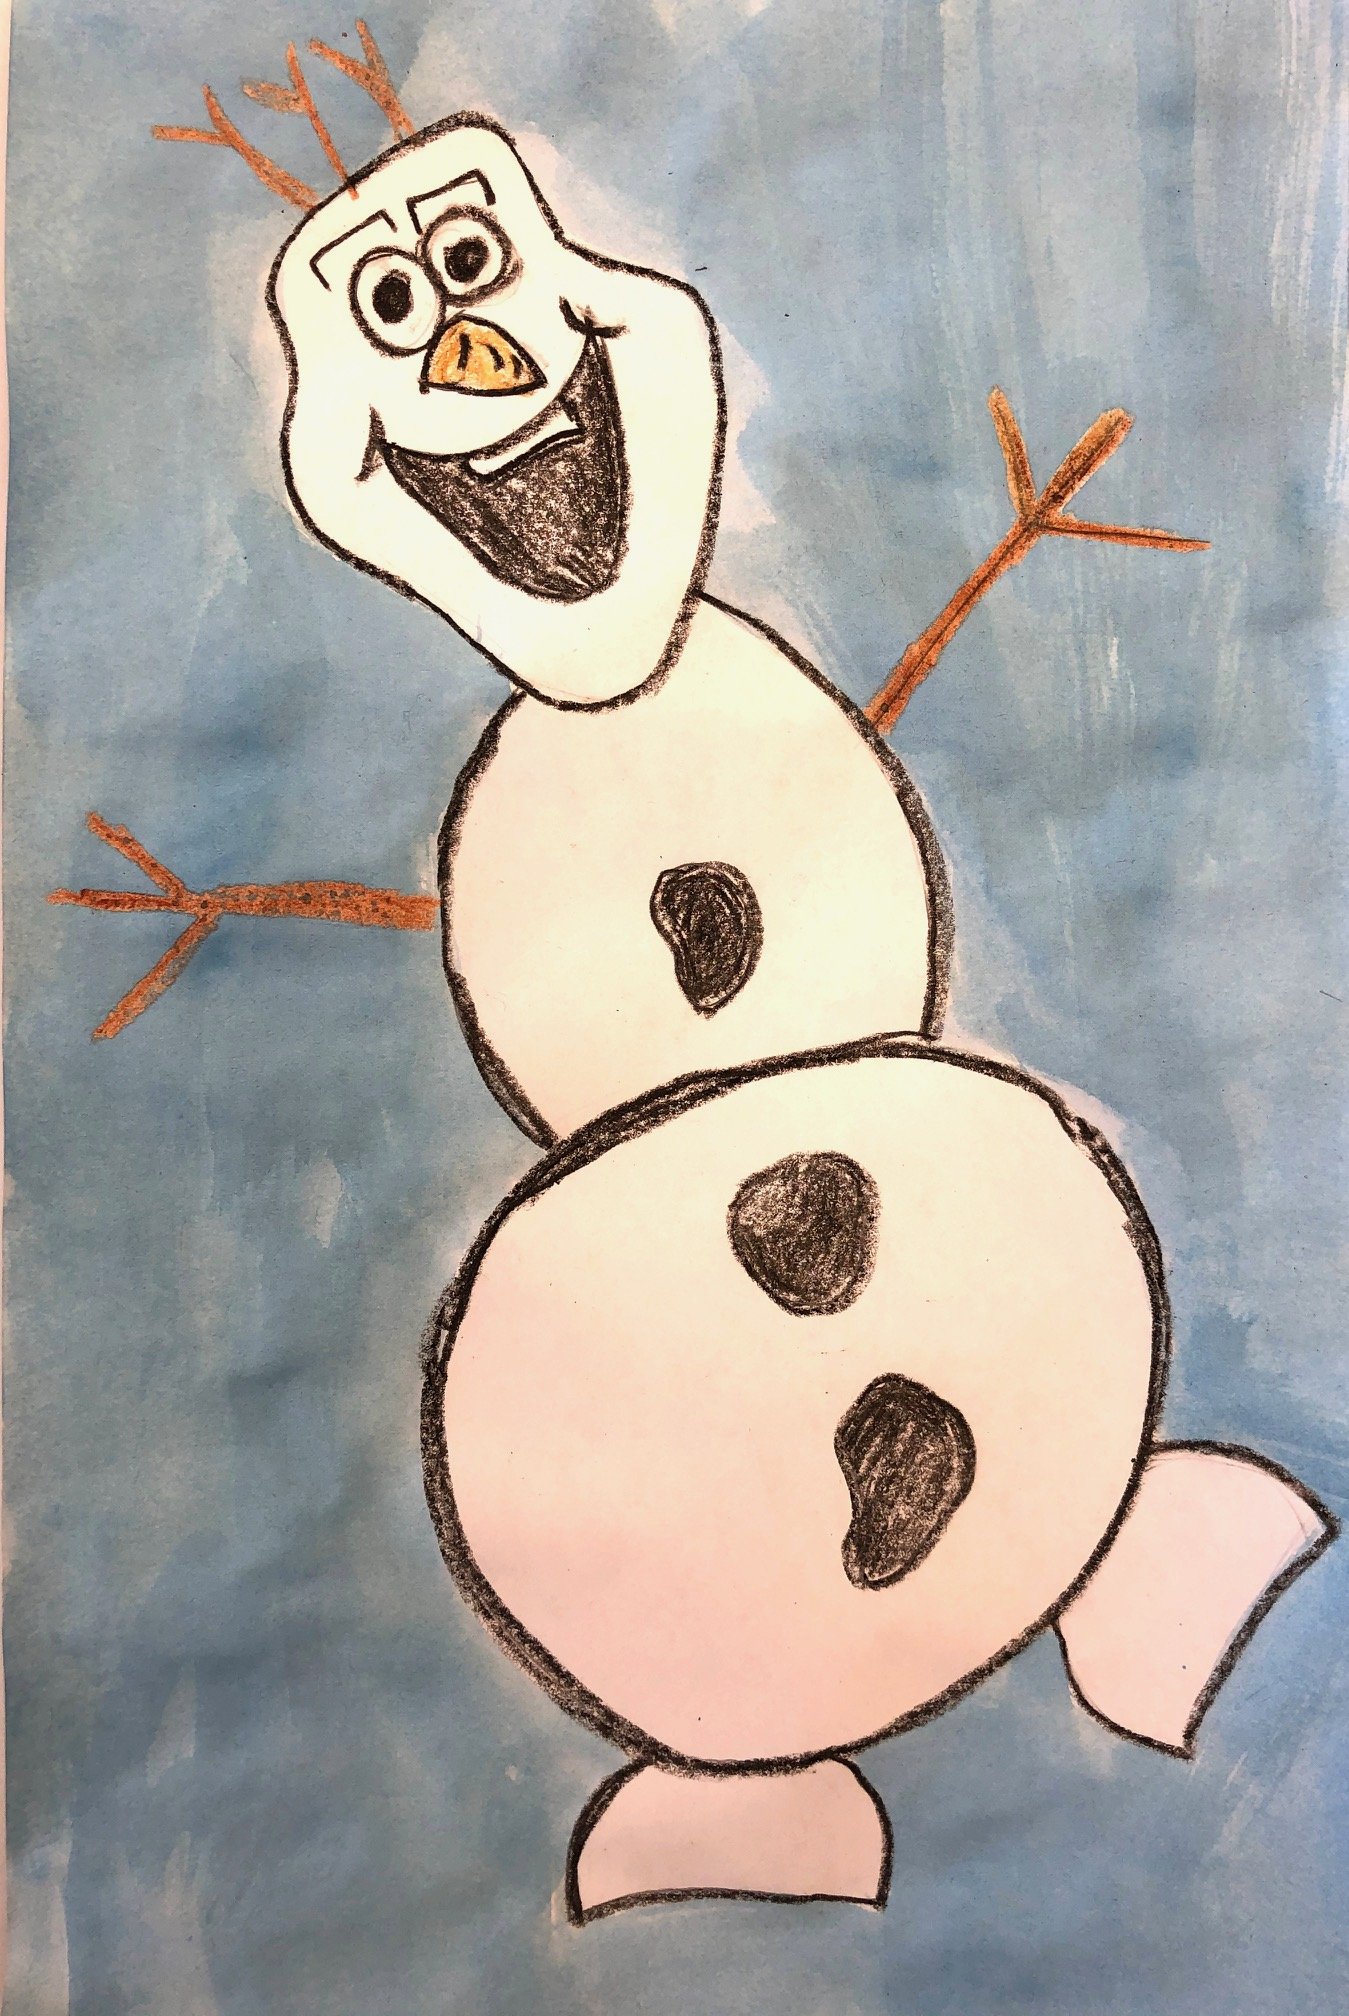
- Now we paint! Use the blue watercolor to paint the background. Be careful painting around Olaf. To avoid the watercolor bleeding, use a little bit of paint at a time. Notice how when you paint over the twig features or follow the outline of Olaf, the crayons resist the paint! This is the wax resist technique we talked about above. Pretty cool, right?!?
- Ta-Da!! You learned how to draw Olaf! While you wait for your Olaf creation to dry completely, find a place to display this work of art or maybe even go watch Frozen!
- Don't forget to clean up when you're finished!
.
Making a Mess Is the Best!
Make a Difference, While Making a Great Living!
Open a Kidcreate Studio and use the power of art to positively
influence the lives of children.
Click here to learn more about franchise opportunities with Kidcreate Studio.
. . .
